Understanding Landguard Raised Beds
What Are Landguard Raised Beds?
Landguard raised beds are elevated planting structures designed to facilitate gardening in a controlled environment. These beds are typically constructed from durable materials such as wood, metal, or composite plastics, allowing gardeners to grow a variety of plants while minimizing the impact of soil conditions, pests, and environmental factors. The height of these beds not only eases strain on the back and knees during gardening tasks but also enhances drainage and improves soil quality.
Benefits of Using Landguard Raised Beds
The adoption of landguard raised beds offers numerous advantages:
- Improved Soil Quality: By filling raised beds with a specific mix of soil, you can ensure optimum drainage and nutrient availability, yielding a more productive garden.
- Reduced Weed Growth: The higher soil levels and controlled structure can significantly decrease weed competition, making it easier to maintain your garden.
- Enhanced Pest Control: The elevation can deter certain pests and animals from accessing your plants, providing a natural barrier.
- Extended Growing Season: Raised beds warm up more quickly in the spring, leading to an earlier planting season and longer growing period.
- Easier Access: The height of raised beds reduces the need for bending and kneeling, making gardening more accessible for individuals with mobility challenges.
Materials and Types of Landguard Raised Beds
Landguard raised beds come in various materials, each with its unique properties, advantages, and aesthetic appeal. Here are some common types:
- Wood: Often used for its natural aesthetic and insulation properties. Cedar and redwood are popular choices due to their resistance to rot and insects.
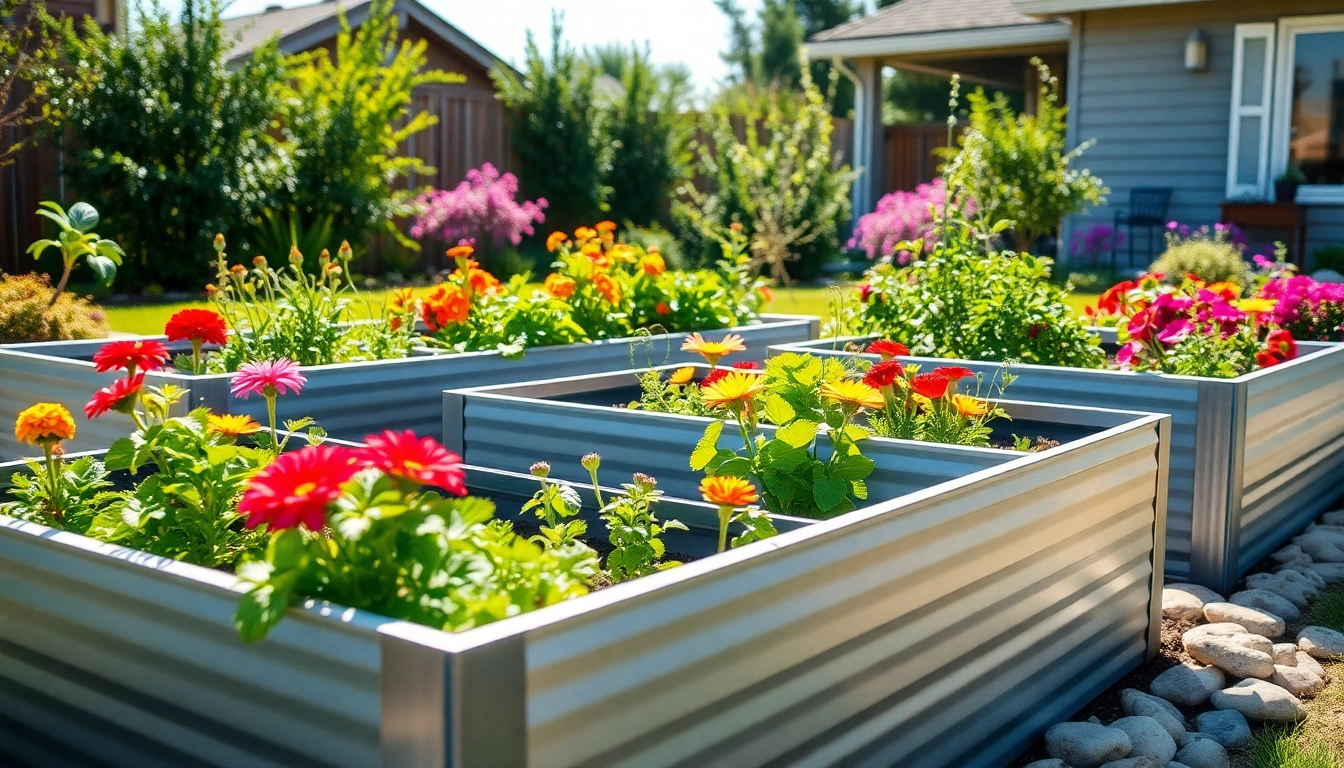
- Metal: Galvanized metal raised beds are gaining popularity for their durability and modern look. They can withstand harsh weather and resist pests effectively.
- Composite Materials: Made from recycled plastics, these beds are lightweight, won’t rot, and are available in various styles.
- Concrete: While less common, concrete raised beds can provide excellent durability and can be customized in size and shape.
Choosing the Right Location for Your Landguard Raised Beds
Sunlight Requirements for Landguard Raised Beds
Proper sunlight exposure is crucial for optimal plant growth. Most vegetables and flowering plants require at least 6-8 hours of sunlight per day. When positioning your landguard raised beds, consider the annual movement of the sun and try to place the beds in an area that will receive ample sunlight throughout the day. For shadier spots, select shade-tolerant plants suitable for lower light conditions.
Soil Quality and Drainage Considerations
One of the advantages of using raised beds is the ability to control soil quality and drainage. Ensure that the location has proper drainage to prevent standing water, which can lead to root rot and other plant diseases. Conduct a soil test to determine the pH and nutrient levels of the surrounding soil; this can guide your decisions on soil amendments and the best types of plants to grow.
Access and Aesthetic Placement of Landguard Raised Beds
Consider accessibility when choosing a location. Ensure there is adequate space between beds for easy access during planting, maintenance, and harvesting. Aesthetically, raised beds should complement your garden’s overall design and landscaping. Integrating them into existing pathways or using artistic layouts can enhance the visual appeal of your outdoor space.
Building Landguard Raised Beds: Step-by-Step Guide
Choosing the Right Size for Landguard Raised Beds
The size of your raised bed will depend on the plants you wish to grow and the available space. A common size for home gardens is 4 feet wide by 8 feet long, with a height of 12 to 24 inches. This allows easy access from all sides, minimizing bending. For smaller areas or vegetables that require less depth, consider beds that are 2 feet wide.
Tools and Materials Needed
To build your landguard raised beds, gather the following tools and materials:
- Tools: Saw, drill, screws, measuring tape, level, hammer, and gardening gloves.
- Materials: Chosen material for the bed (wood, metal, composite), landscape fabric (for weed control), soil amendments (compost or topsoil), and mulch.
Assembly Instructions for Landguard Raised Beds
- Plan and Measure: Determine the size and location for your raised bed, marking the area with stakes.
- Cut Materials: If using lumber, cut to specified lengths to create the side walls. Ensure they are of equal length.
- Assemble the Bed: Use screws to assemble the corners of the raised bed, forming a rectangular or square shape.
- Level and Position: Place the assembled bed in your desired location, using a level to ensure it sits flat.
- Add Landscape Fabric: Line the bottom of the bed with landscape fabric to reduce weeds while allowing for drainage.
- Fill with Soil: Add your soil mix, incorporating compost and other amendments to enhance nutrient content.
- Watering: Water the soil thoroughly to settle it before planting.
Planting Strategies for Landguard Raised Beds
Companion Planting Tips
Companion planting is an effective strategy that involves growing different plants together for mutual benefit. Some popular companion pairings for landguard raised beds include:
- Tomatoes and Basil: Basil can enhance the flavor of tomatoes while repelling pests.
- Carrots and Onions: Onions deter carrot flies, and carrots can help break up the soil for better drainage.
- Cucumbers and Corn: Corn provides natural support for climbing cucumbers, while cucumbers shade the roots of corn.
Seasonal Planting Guides for Landguard Raised Beds
Understanding seasonal planting guidelines will ensure that your raised beds are cultivated efficiently throughout the year. Here’s a brief overview:
- Spring: Ideal for cool-weather crops like lettuce, peas, carrots, and radishes.
- Summer: Plant heat-loving vegetables such as tomatoes, peppers, and zucchini.
- Fall: Consider late crops like kale, spinach, and garlic, which can be planted once summer crops are harvested.
- Winter: If you live in a mild climate, winter greens can be planted, or you can use cover crops to improve soil health.
Maintaining Soil Health in Landguard Raised Beds
Maintaining healthy soil is crucial to the vitality of your garden. Employ practices such as:
- Crop Rotation: Avoid planting the same type of plant in the same spot every year to prevent nutrient depletion and pests.
- Mulching: Adding a layer of mulch helps retain moisture, suppress weeds, and improve soil health as it breaks down.
- Regular Testing: Conduct soil tests annually to monitor pH levels and nutrient content.
Maximizing the Yield from Your Landguard Raised Beds
Effective Watering Techniques
Watering is a fundamental component of successful gardening. Consider implementing the following techniques to maximize efficiency:
- Drip Irrigation: Installing a drip irrigation system delivers water directly to the roots, minimizing waste and evaporation.
- Soaker Hoses: Lay soaker hoses across the surface of the soil to slowly release water over time.
- Watering Schedule: Water in the early morning or late evening to reduce moisture loss due to evaporation.
Pest Management for Landguard Raised Beds
Effective pest management is essential for protecting your crops. Implement strategies such as:
- Regular Monitoring: Frequently check your plants for signs of pests or disease.
- Natural Predators: Encourage beneficial insects such as ladybugs and lacewings that prey on harmful pests.
- Organic Pesticides: Use non-toxic solutions to deter pests without harming beneficial wildlife.
Harvesting and Utilizing Your Crop from Landguard Raised Beds
Proper harvesting techniques are vital for maximizing the yield- get the most out of your hard work by:
- Timing: Harvest crops at their peak for the best flavor and freshness.
- Using Proper Tools: Employing sharp shears or garden knives can prevent damage to plants and improve efficiency.
- Storing Correctly: After harvesting, store your produce in appropriate conditions to extend freshness and flavor.